imixs-cloud
Longhorn
Longhorn is a cloud native distributed block storage for Kubernetes. Longhorn delivers simplified, easy to deploy and upgrade, 100% open source, cloud-native persistent block storage without the cost overhead of open core or proprietary alternatives. This makes Longhorn very easy to integrate in a Kubernetes cluster.
Quick Setup
For a quick setup check the file /management/longhorn/030-ingress.yaml. This file will provide a placeholder for the Longhorn Web UI. If you have setup this file to your needs you can start Longhorn within the Imixs-Cloud with:
$ kubectl apply -f management/longhorn/
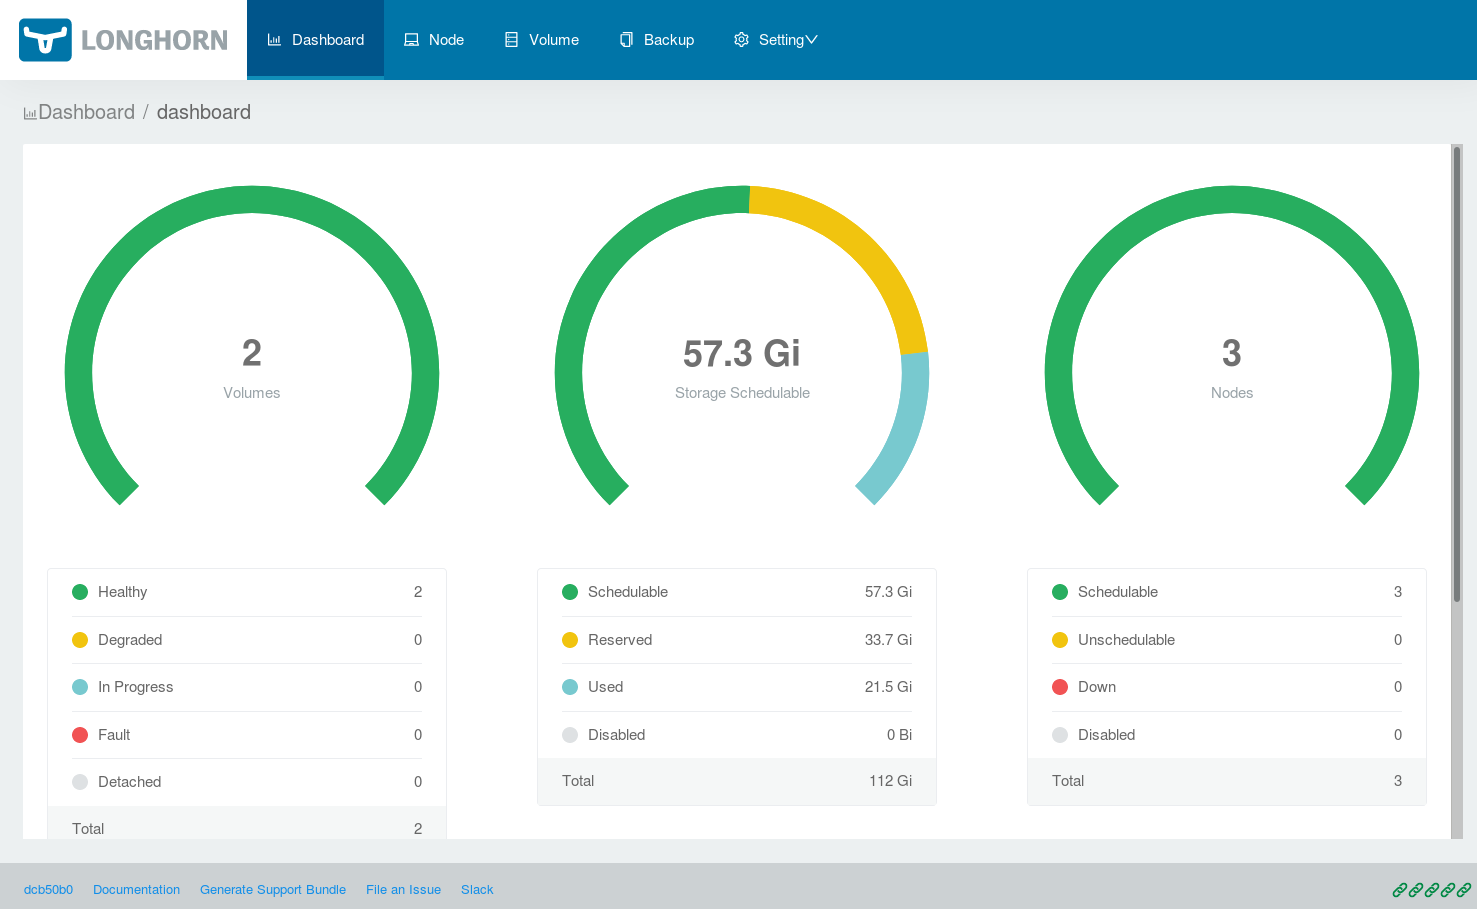
The deployment may take some minutes. Corresponding to your ingress configuration you can open the Longhorn Web UI to administrate your cluster.
Note: Authentication for the Longhorn-UI is not enabled by default. This means anonymous can access the longhorn UI form Internet. You will find a detailed documentation about the setup and the authentication here.
Create Longhorn Volumes
Before you can create Kubernetes volumes within Longhorn, you must first provide a storage class. Imixs-Cloud is already providing a default StorageClass for longhorn in the file /longhorn/003-storageclass.yaml
kind: StorageClass
apiVersion: storage.k8s.io/v1
metadata:
  name: longhorn
  annotations:
    # make this class the default storage class
    storageclass.kubernetes.io/is-default-class: "true"

provisioner: driver.longhorn.io
allowVolumeExpansion: true
parameters:
  numberOfReplicas: "3"
  staleReplicaTimeout: "2880" # 48 hours in minutes
  fromBackup: ""
This storage class definition will automatically create 3 replicas of a persistence volume. You can change the storageClass to your individual needs. To apply the new storage class run:
$ kubectl apply -f management/longhorn/003-storageclass.yaml
Note: The storage class ‘longhorn’ is marked as the ‘default’ storage class within the cluster. This allows you to create a PersistentVolumeClaim with an unspecified storageClassName. Find details here.
Create a Volume Claim
Now you can easily create a Persistence Volume Claim (PVC) within your pod using the longhorn StorageClass. You do not need to create a PersistenceVolume manually because the storageClass will create a PV dynamically.
apiVersion: v1
kind: PersistentVolumeClaim
metadata:
  name: dbdata
spec:
  accessModes:
    - ReadWriteOnce
  storageClassName: longhorn
  resources:
    requests:
      storage: 2Gi
You can read more about the topic in the kubernetes documentation - Dynamic Volume Provisioning
The Reclaim Policy of a PersistentVolume
PersistentVolumes can have various reclaim policies, including “Retain”, “Recycle”, and “Delete”. For dynamically provisioned PersistentVolumes, the default reclaim policy is “Delete”. This means that a dynamically provisioned volume is automatically deleted when the PVC or service was deleted. This automatic behavior might be inappropriate because previous data will be lost. In that case, it is more appropriate to use the “Retain” policy. With the “Retain” policy, if a service and its PersistentVolumeClaim was deleted, the corresponding PersistentVolume will not be deleted. Instead, it is moved to the Released phase, where all of its data can be manually recovered.
For this you can change the reclaimPolicy in your custom StorageClass.
reclaimPolicy: Retain
The Imixs-Cloud project is already providing such a StorageClass called ‘longhorn-durable’. You can check the status of your storageClass with:
$ kubectl get StorageClass
Durable Persistence Volumes
As mentioned above when you delete a PVC, the corresponding PV will be deleted too, or released in case of the reclaimPolice ‘Retain’. But even if the PV is not being deleted, this PV can not automatically be bound again to a POD. The reason for this is that a PV usually contains sensitive data and that is why kubernetes provides no possibility to bind to it, even if it is a PVC with the same name and in the same namespace as the previous one - who knows who’s trying to steal the data!
To use a PV also in this scenario you need to define a durable persistence volume manually. You make the PV available to a specific PVC by setting the PV.Spec.ClaimRef with a pointer to a PVC. See the following example:
---
kind: PersistentVolume
apiVersion: v1
metadata:
  name: mysql-pv
spec:
  capacity:
    storage: 2Gi
  volumeMode: Filesystem
  accessModes:
    - ReadWriteOnce
  claimRef:
    namespace: default
    name: mysql-pvc
  csi:
    driver: driver.longhorn.io
    fsType: ext4
    volumeHandle: mysql-0
  storageClassName: longhorn-durable
---
apiVersion: v1
kind: PersistentVolumeClaim
metadata:
  name: mysql-pvc
spec:
  accessModes:
    - ReadWriteOnce
  storageClassName: longhorn-durable
  resources:
    requests:
      storage: 2Gi
  volumeName: "mysql-pv"
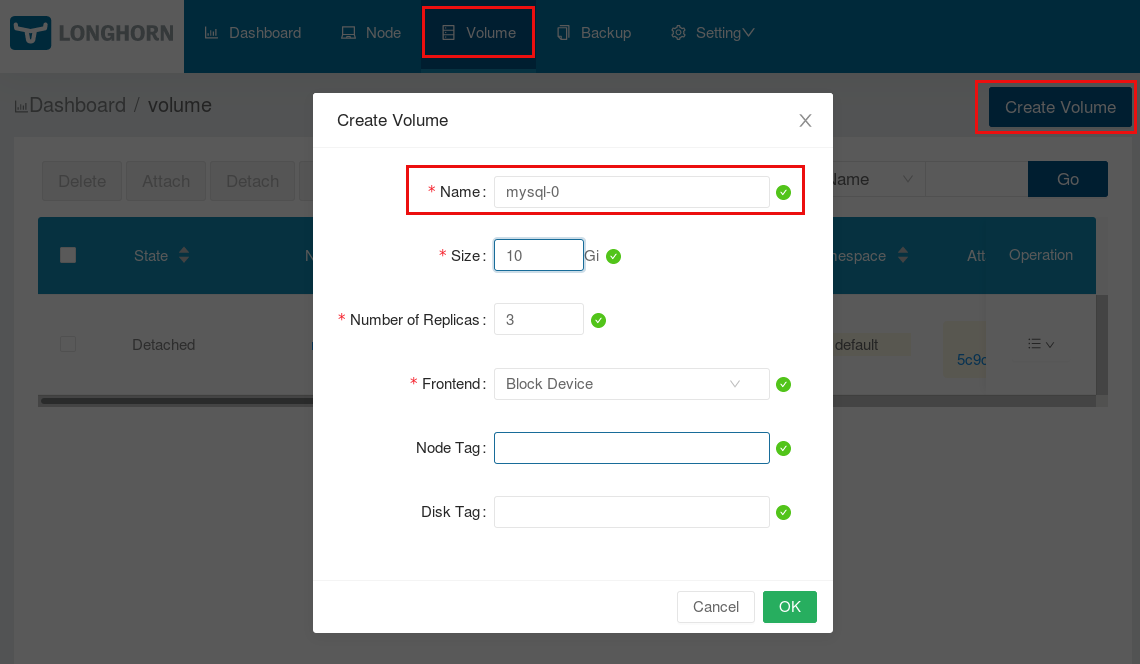
The PV definition spec.csi.volumeHandle points to a pre-created volume. This is an administrative job to done by the Cluster-Administrator. In Longhorn you can easily create the Persistence Volume form the UI:
After you have created the volume in Longhorn you can deploy your POD with the PV/PVC definition.
Note: the acccessMOdes and the storage capacity in the PV must match the PVC definition
Replica Node Level Soft Anti-Affinity
The Longhorn flag node level soft anti-affinity allows the Longhorn Manager the scheduling on nodes with existing healthy replicas of the same volume. Per default this flag is set to ‘false’. Enabling this flag will increase the availability on small clusters with only 3 nodes. Find more about this option here.
Volume Attachment Recovery Policy
The Longhorn flag Attachment Recovery Policy defines the action when a Volume is stuck with a Deployment Pod on a failed node. The option immediate will recover the Volume Attachment from the failed node as soon as there are pending replacement pods available. This may increase the availibility of volumes in small clusters with only 3 nodes. Find more about this option here.
Known Problems
There is also a forum to discuss questions with the longhorn community. Some known problems and how you can handle them is listed below:
Data Directory exists but is not empty
It may happen that after you try to run your service you see an error message like in the following postgresql example:
initdb: directory "/var/lib/postgresql/data" exists but is not empty It contains a lost+found directory,
perhaps due to it being a mount point. Using a mount point directly as the data directory is not recommended.
Create a subdirectory under the mount point.
In such a case you just need to add a subPath
...
volumeMounts:
- mountPath: /var/lib/postgresql/data
  name: test-db-volume
  subPath: postgres
...
See more details here.
AttachVolume.Attach failed
In some cases it may happen that you can not deploy because of a error message like this:
AttachVolume.Attach failed for volume "xxxx" : rpc error: code = FailedPrecondition desc = The volume xxx cannot be attached to the node node-x since it is already attached to the node node-y
In this case you can solve the problem as followed:
1.) Deelte your deployment as usual
$ kubectl delete -f apps/my-app....
2.) Verify if the volume in question was deleted
$ kubectl get pv
If not, you may see that the persistence volume is in status ‘terminating’. To get rid of this situation run:
$ kubectl patch pv [PV-NAME] -p '{"metadata":{"finalizers":null}}'

# replace [PV-NAME] with the name of your persistence volume
3.) Detach the volume manually via the Longohorn UI
Within the Longhorn UI you can verify if the volume is now in status ‘detached’. If not, you can detach is via the volume options.
4.) Re-Apply your Deployment
Finally you can re-deploy your application:
$ kubectl apply -f apps/my-app....
How to Uninstall Longhorn
To prevent damaging the Kubernetes cluster, it is recommended deleting all Kubernetes workloads using Longhorn volumes (PersistentVolume, PersistentVolumeClaim, StorageClass, Deployment, StatefulSet, DaemonSet, etc) first.
You can create the uninstallation job to clean up CRDs from the system and wait for success:
$ kubectl create -f https://raw.githubusercontent.com/longhorn/longhorn/master/uninstall/uninstall.yaml
The uninstall process can take a while.
Example output:
$ kubectl create -f https://raw.githubusercontent.com/longhorn/longhorn/master/uninstall/uninstall.yaml
serviceaccount/longhorn-uninstall-service-account created
clusterrole.rbac.authorization.k8s.io/longhorn-uninstall-role created
clusterrolebinding.rbac.authorization.k8s.io/longhorn-uninstall-bind created
job.batch/longhorn-uninstall created

$ kubectl get job/longhorn-uninstall -w
NAME                 COMPLETIONS   DURATION   AGE
longhorn-uninstall   0/1           3s         3s
longhorn-uninstall   1/1           20s        20s
^C
Remove remaining components:
$ kubectl delete -f management/longhorn/
$ kubectl delete -f https://raw.githubusercontent.com/longhorn/longhorn/master/uninstall/uninstall.yaml
Find details about the uninstall process also here.
Delete namespace ‘longhorn-system’
To remove the longhorn-system namespace you can run the following command:
$ kubectl get namespace "longhorn-system" -o json \
  | tr -d "\n" | sed "s/\"finalizers\": \[[^]]\+\]/\"finalizers\": []/" \
  | kubectl replace --raw /api/v1/namespaces/longhorn-system/finalize -f -